 McKenna Hogan
Your Guide to Commercial Real Estate Photography: Costs, Planning and Production
Multifamily does it, hospitality does it, and now commercial real estate is doing it. Commercial real estate photography - like all development...

In need of some tips or quick wins before your next property shoot? Say no more; we’ve compiled 21 real estate photography tips for your next photoshoot that will make your photos shine.
This seems pretty obvious, but it’s super important that it’s included in every real estate photoshoot.
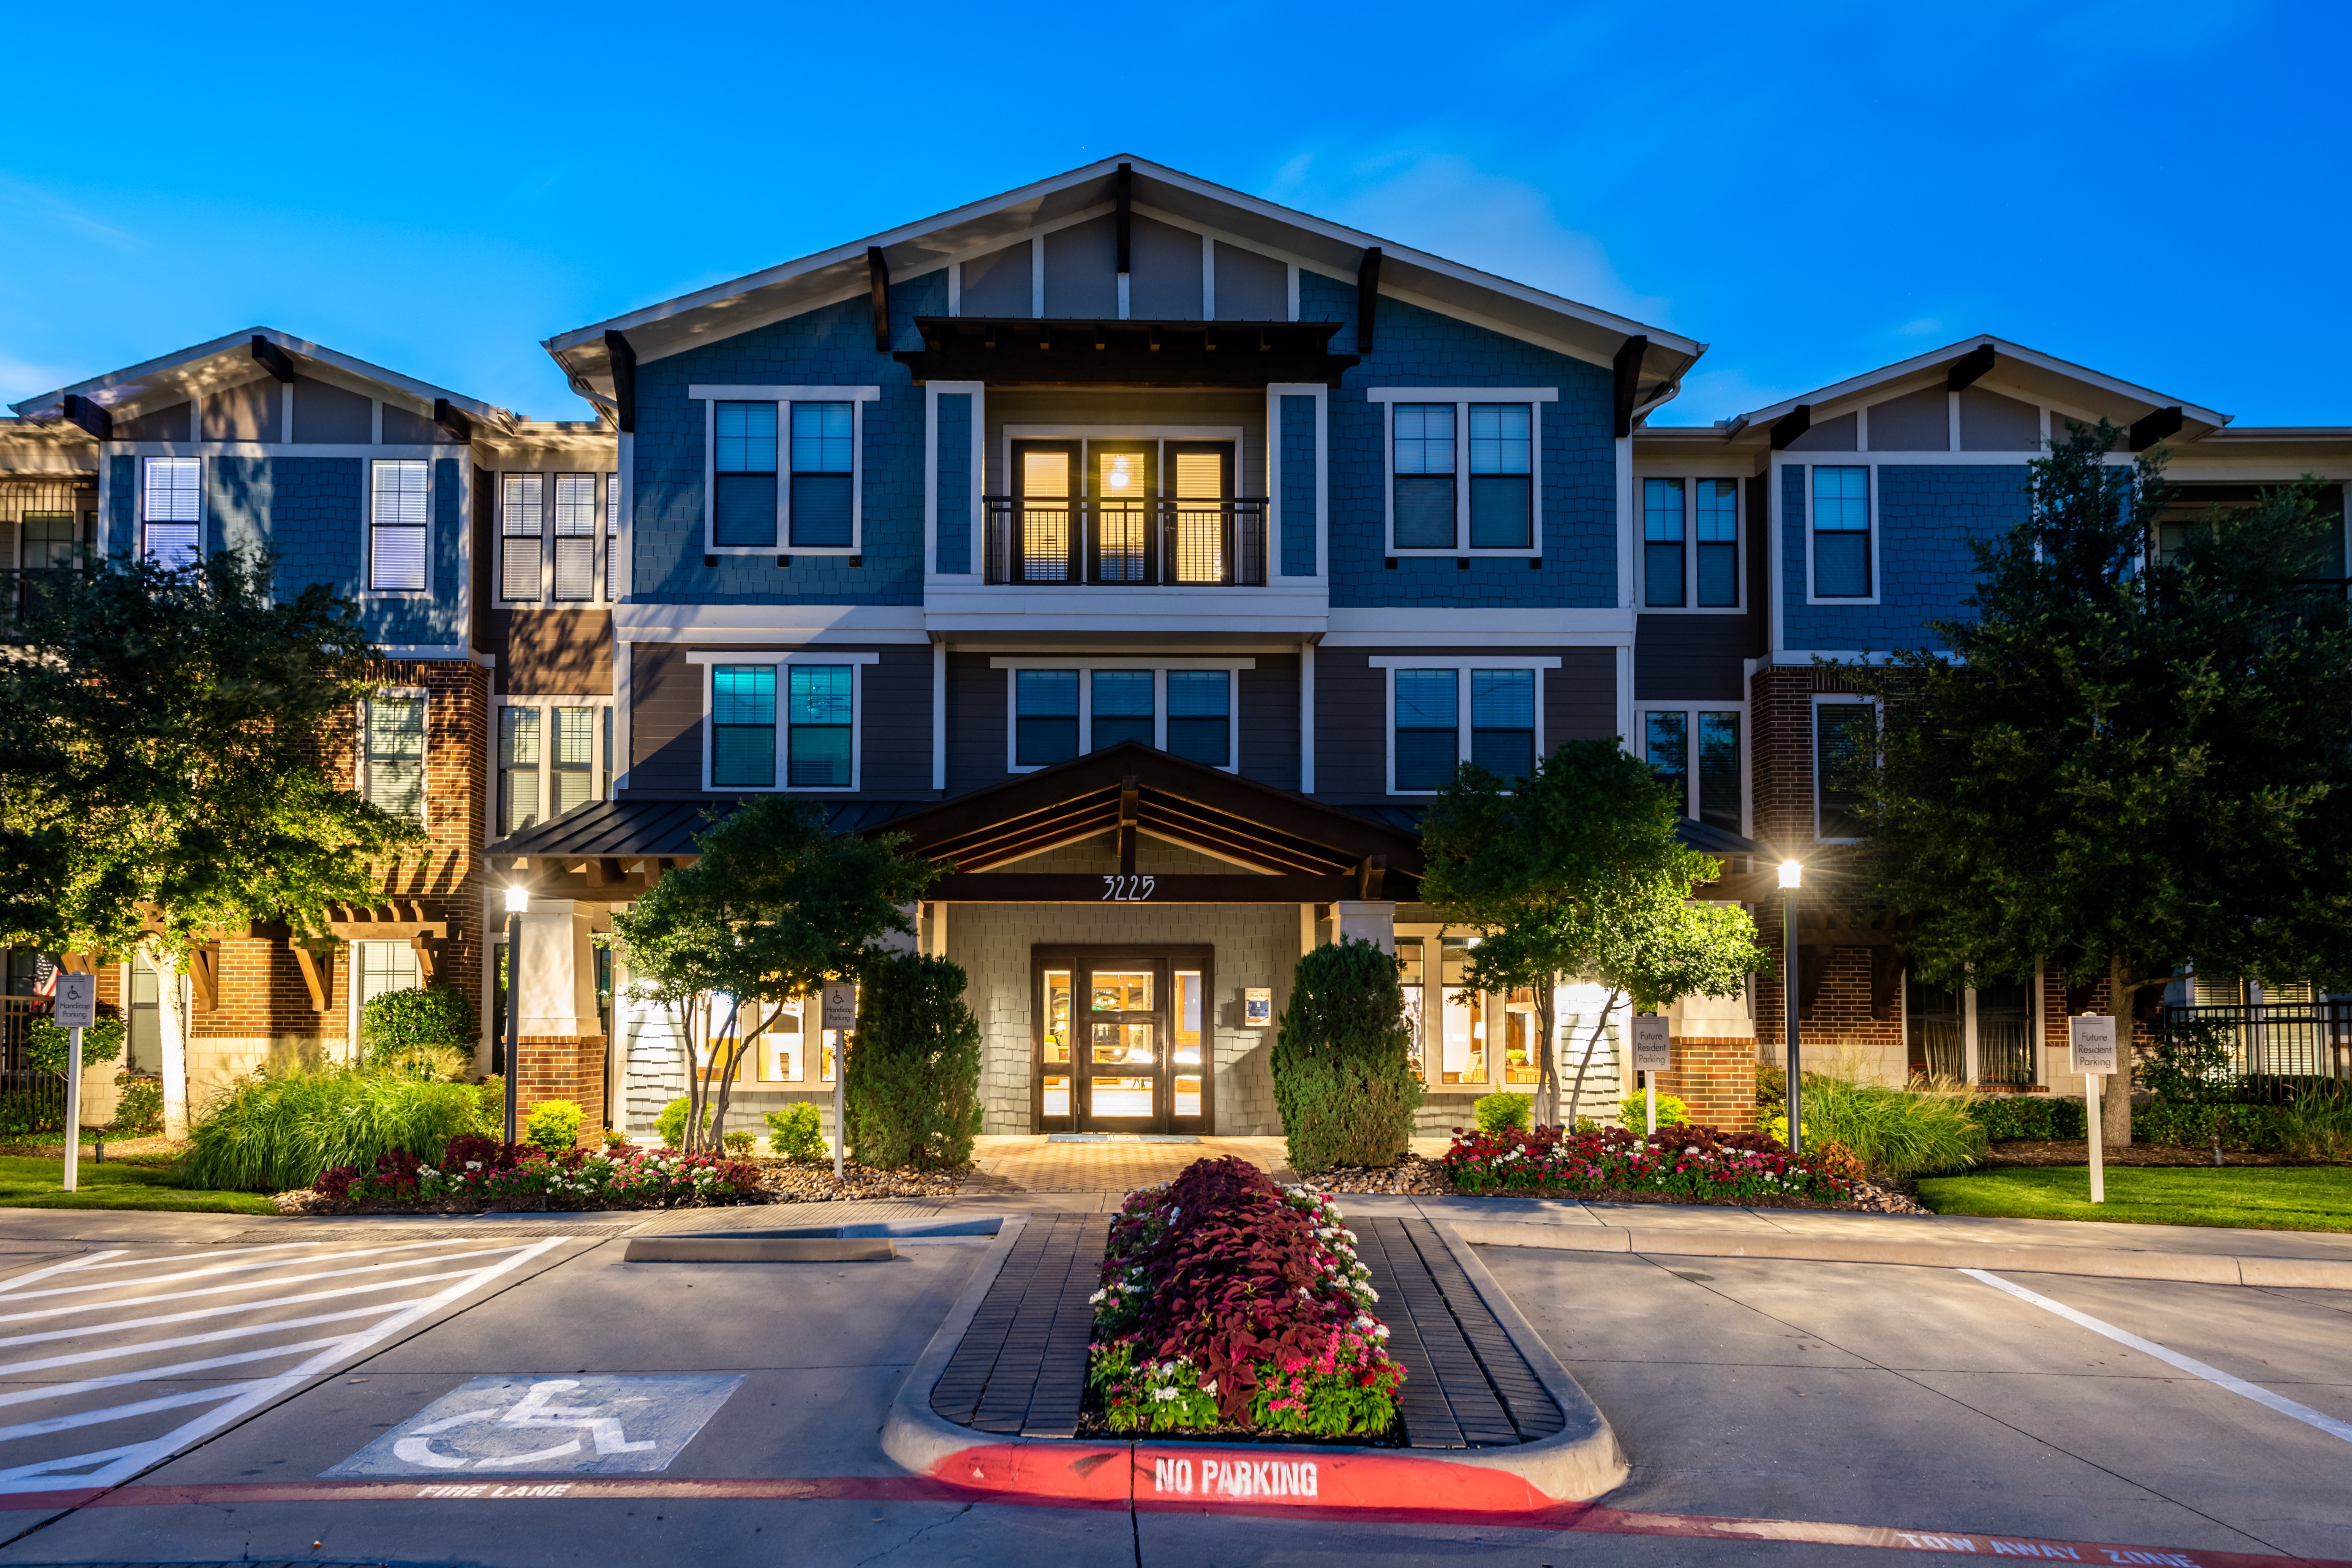
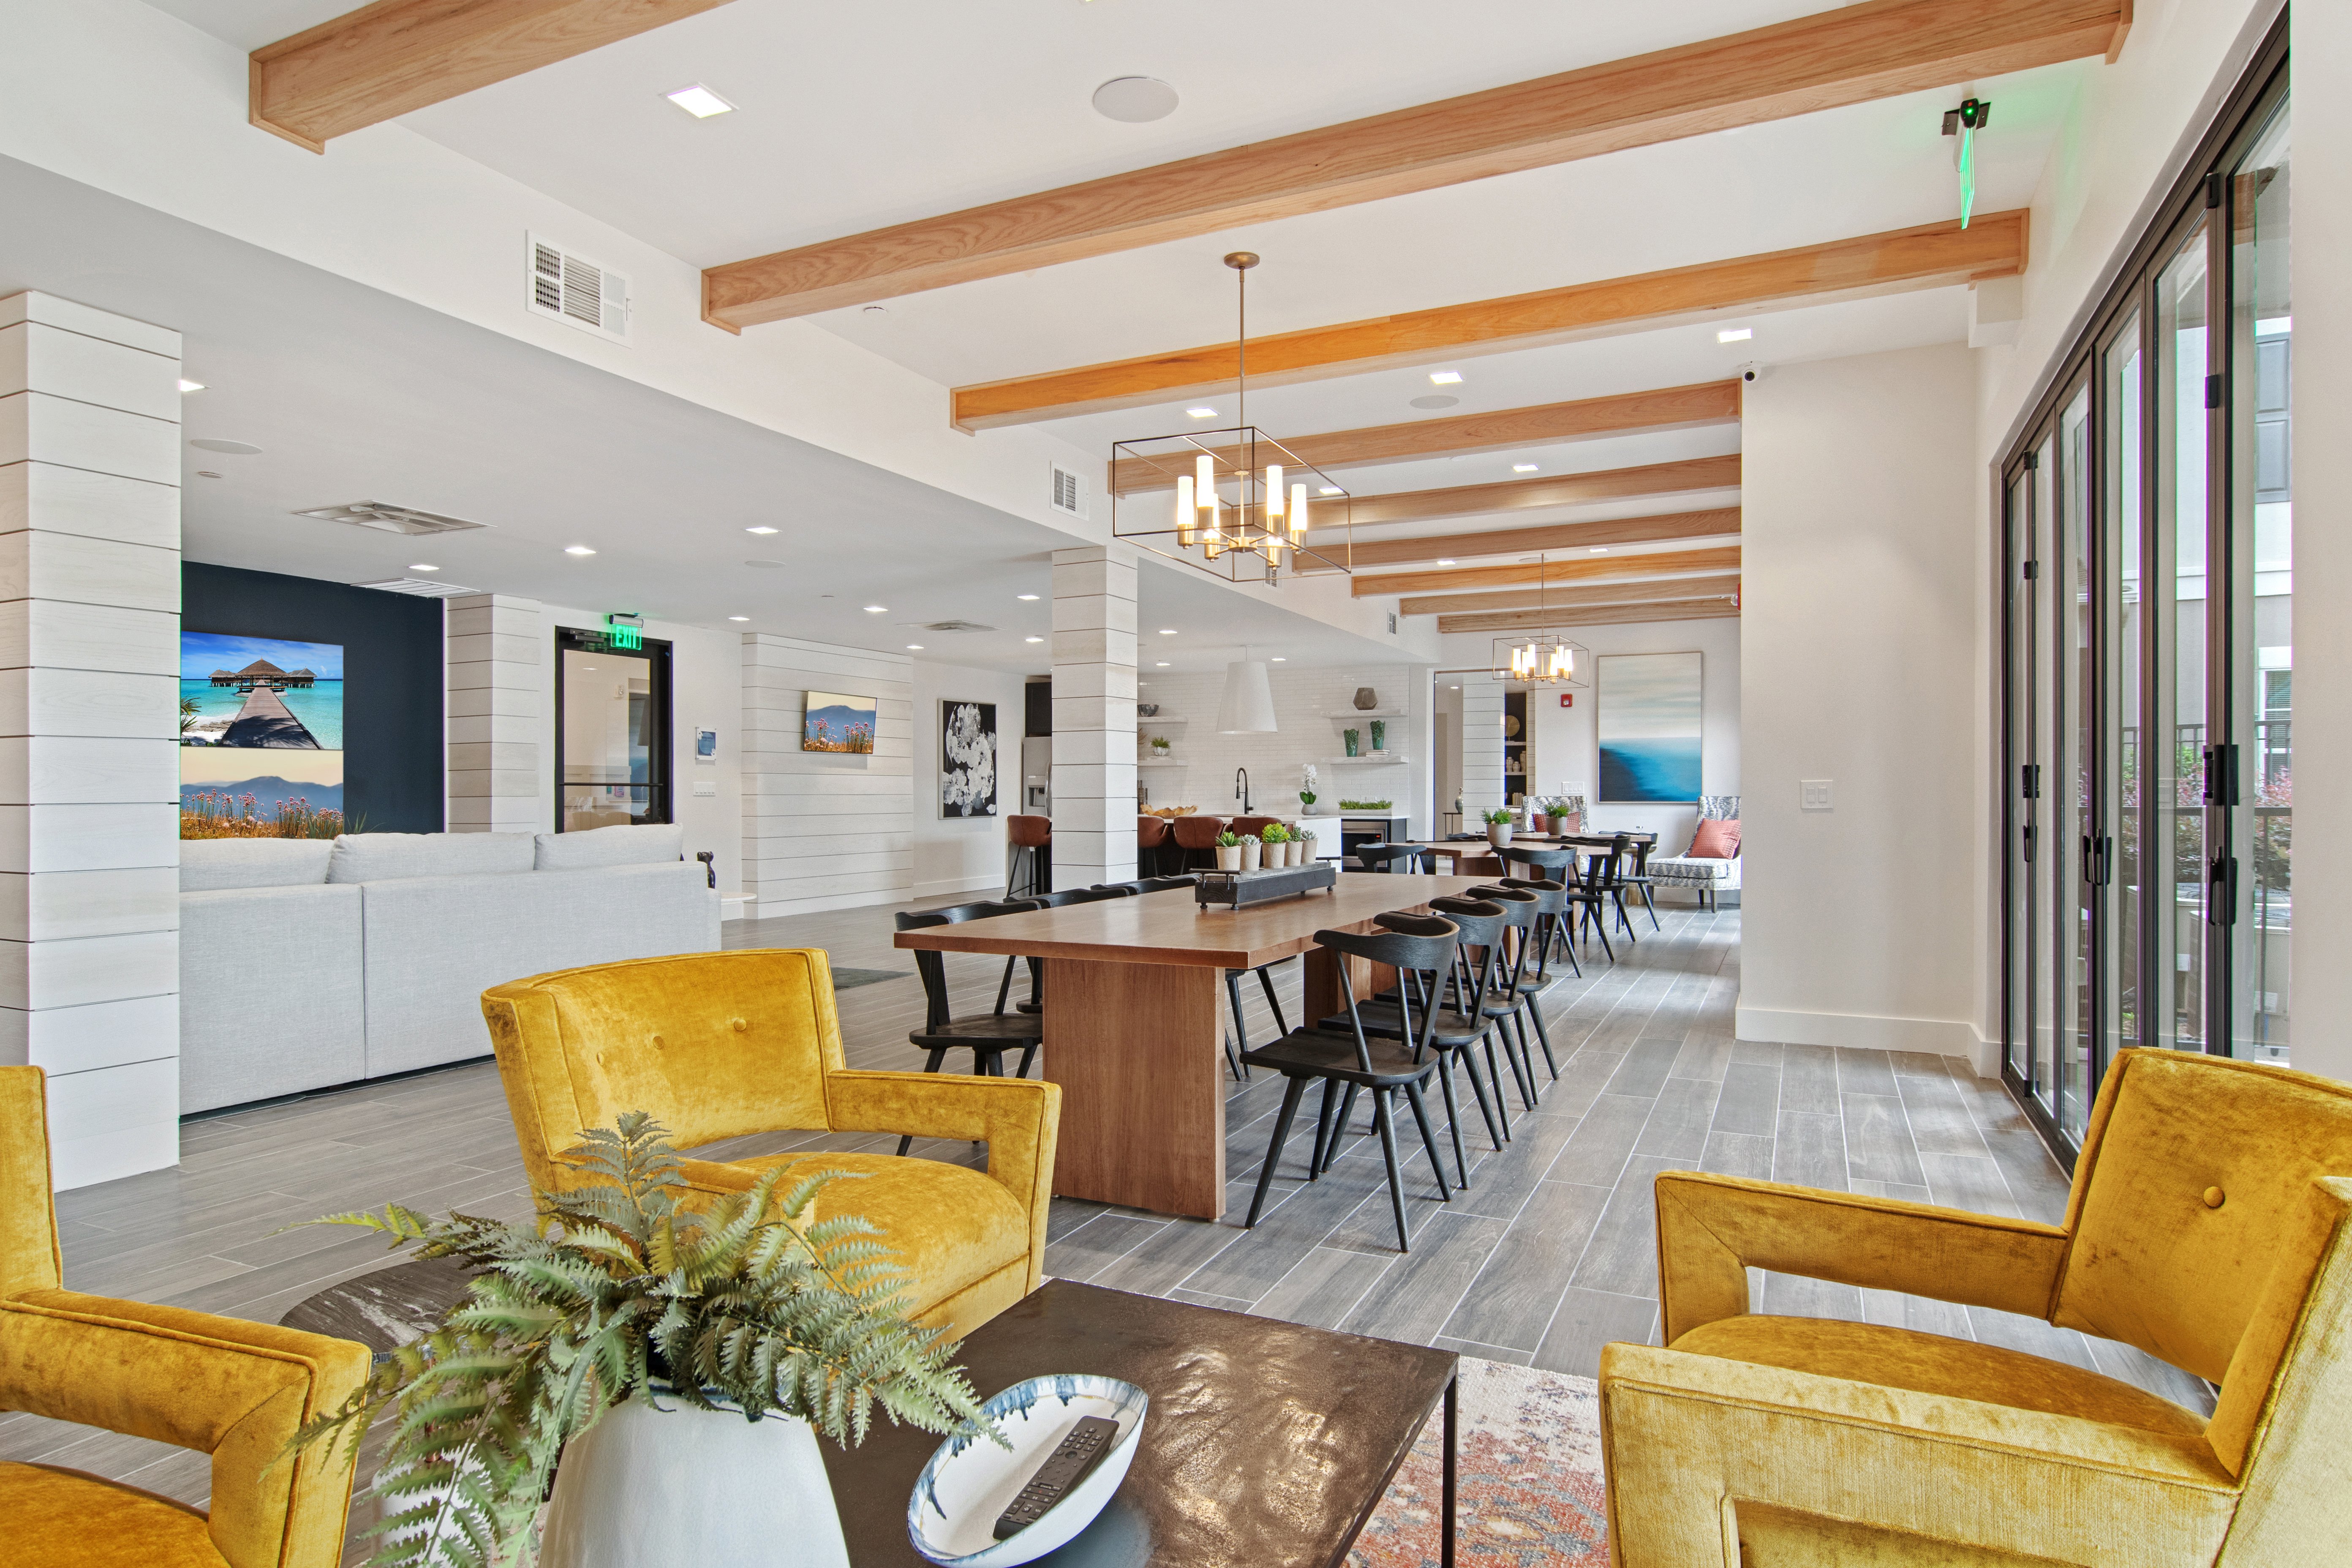
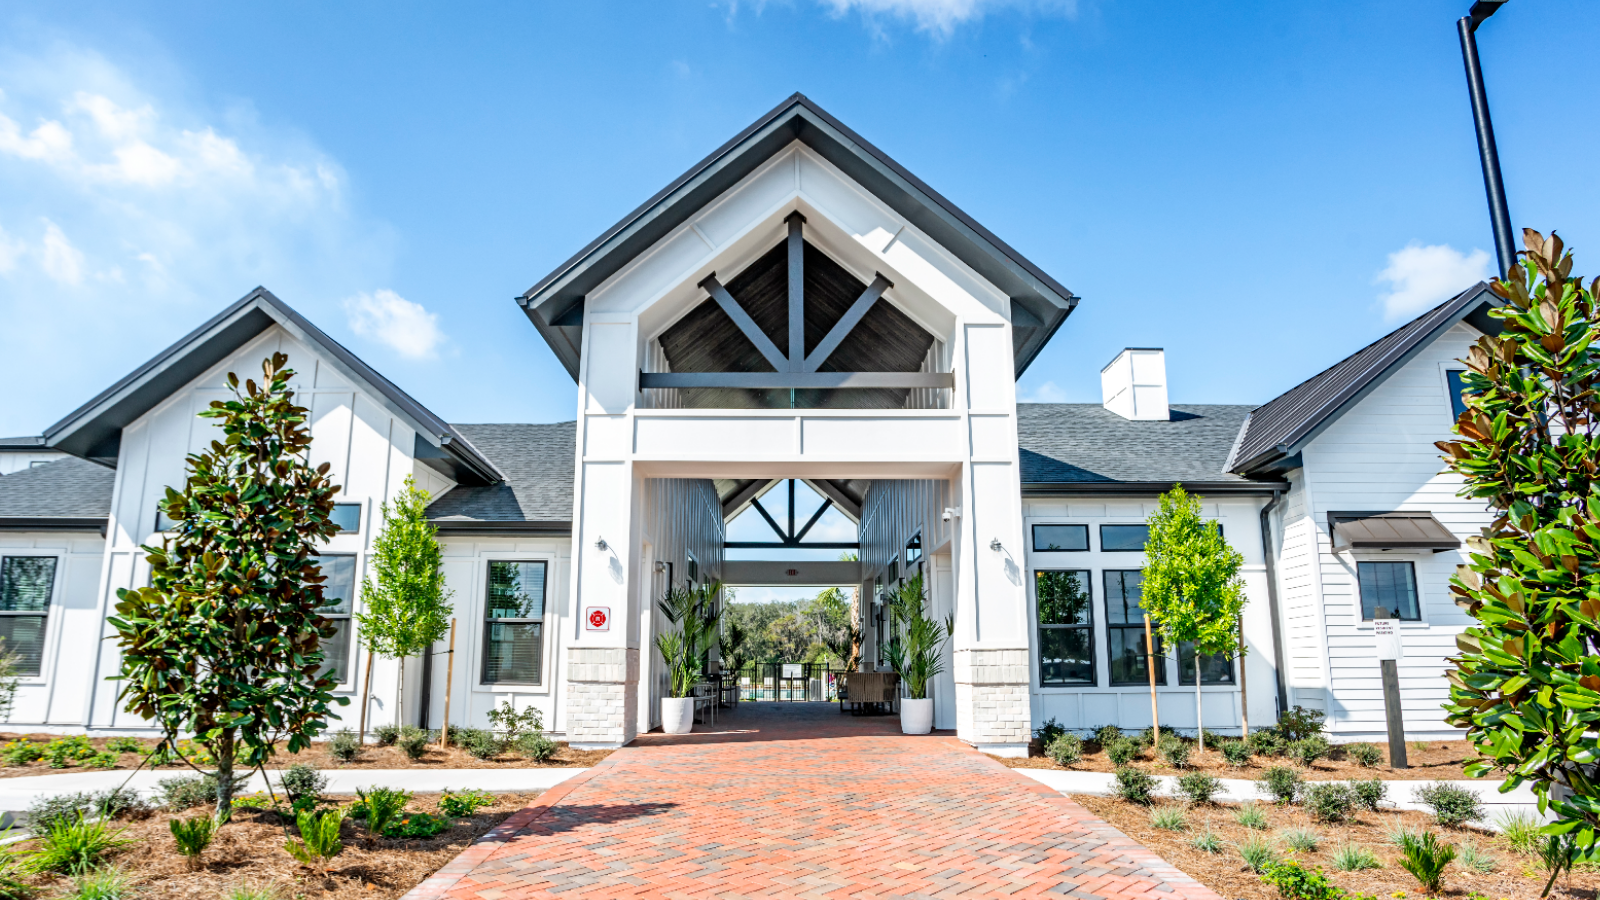
Exterior photography is not only needed to showcase a property’s “virtual front door,” but it’s also essential to real estate marketers when it comes to showcasing their property.
Not to mention, it’ll help prospects identify a property better.
So, ensure the exterior is all tidied up and photoshoot-ready beforehand to get those high-quality shots!
Why, you ask? Because people love dusk shots. And they help a property stand out among competitors.
Take a look at these examples:
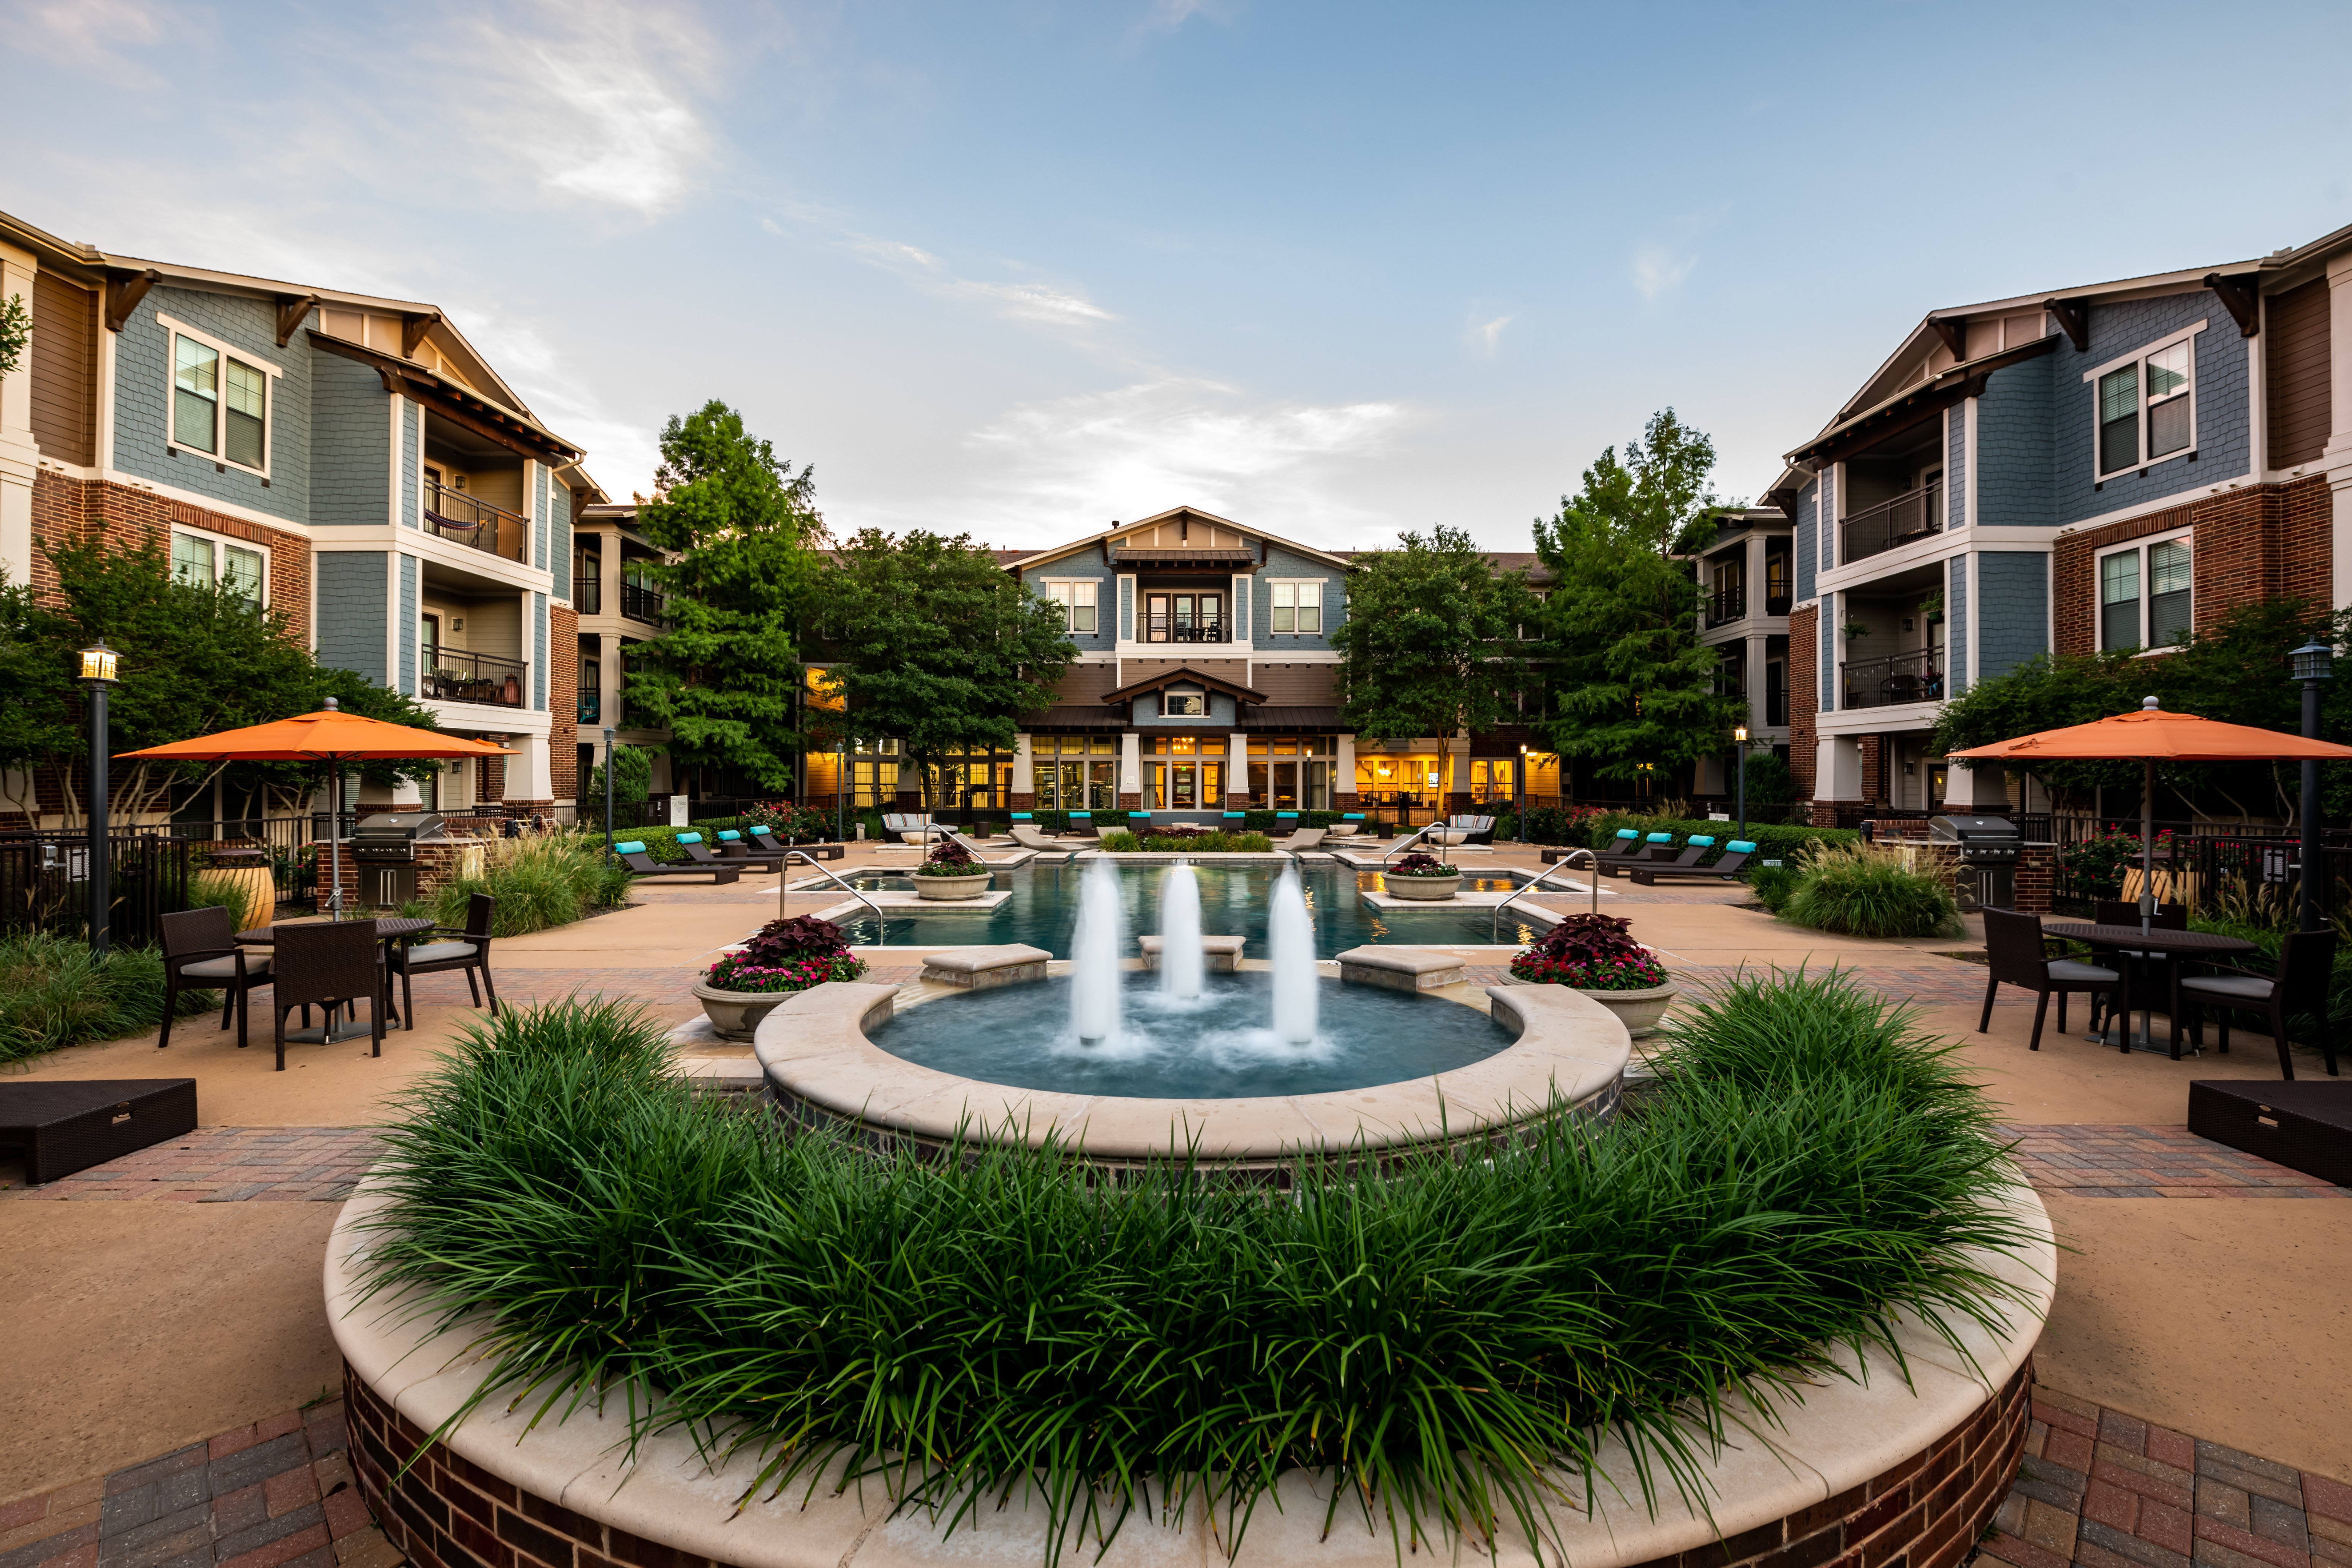

Not only do they add some life to real estate photos, but they can also be so unique when you’re blessed with a good sunset.
These are especially beneficial to properties that have great exterior amenities to show off, such as a bonfire pit or patio area.
18 Examples of Apartment Photos That Helped Lease Units Faster
When staging lighting for a real estate photo shoot, it’s best practice to leverage artificial and natural light sources.
This will allow a clearer and more appealing finish to all images, especially if the weather isn’t cooperating to your liking.
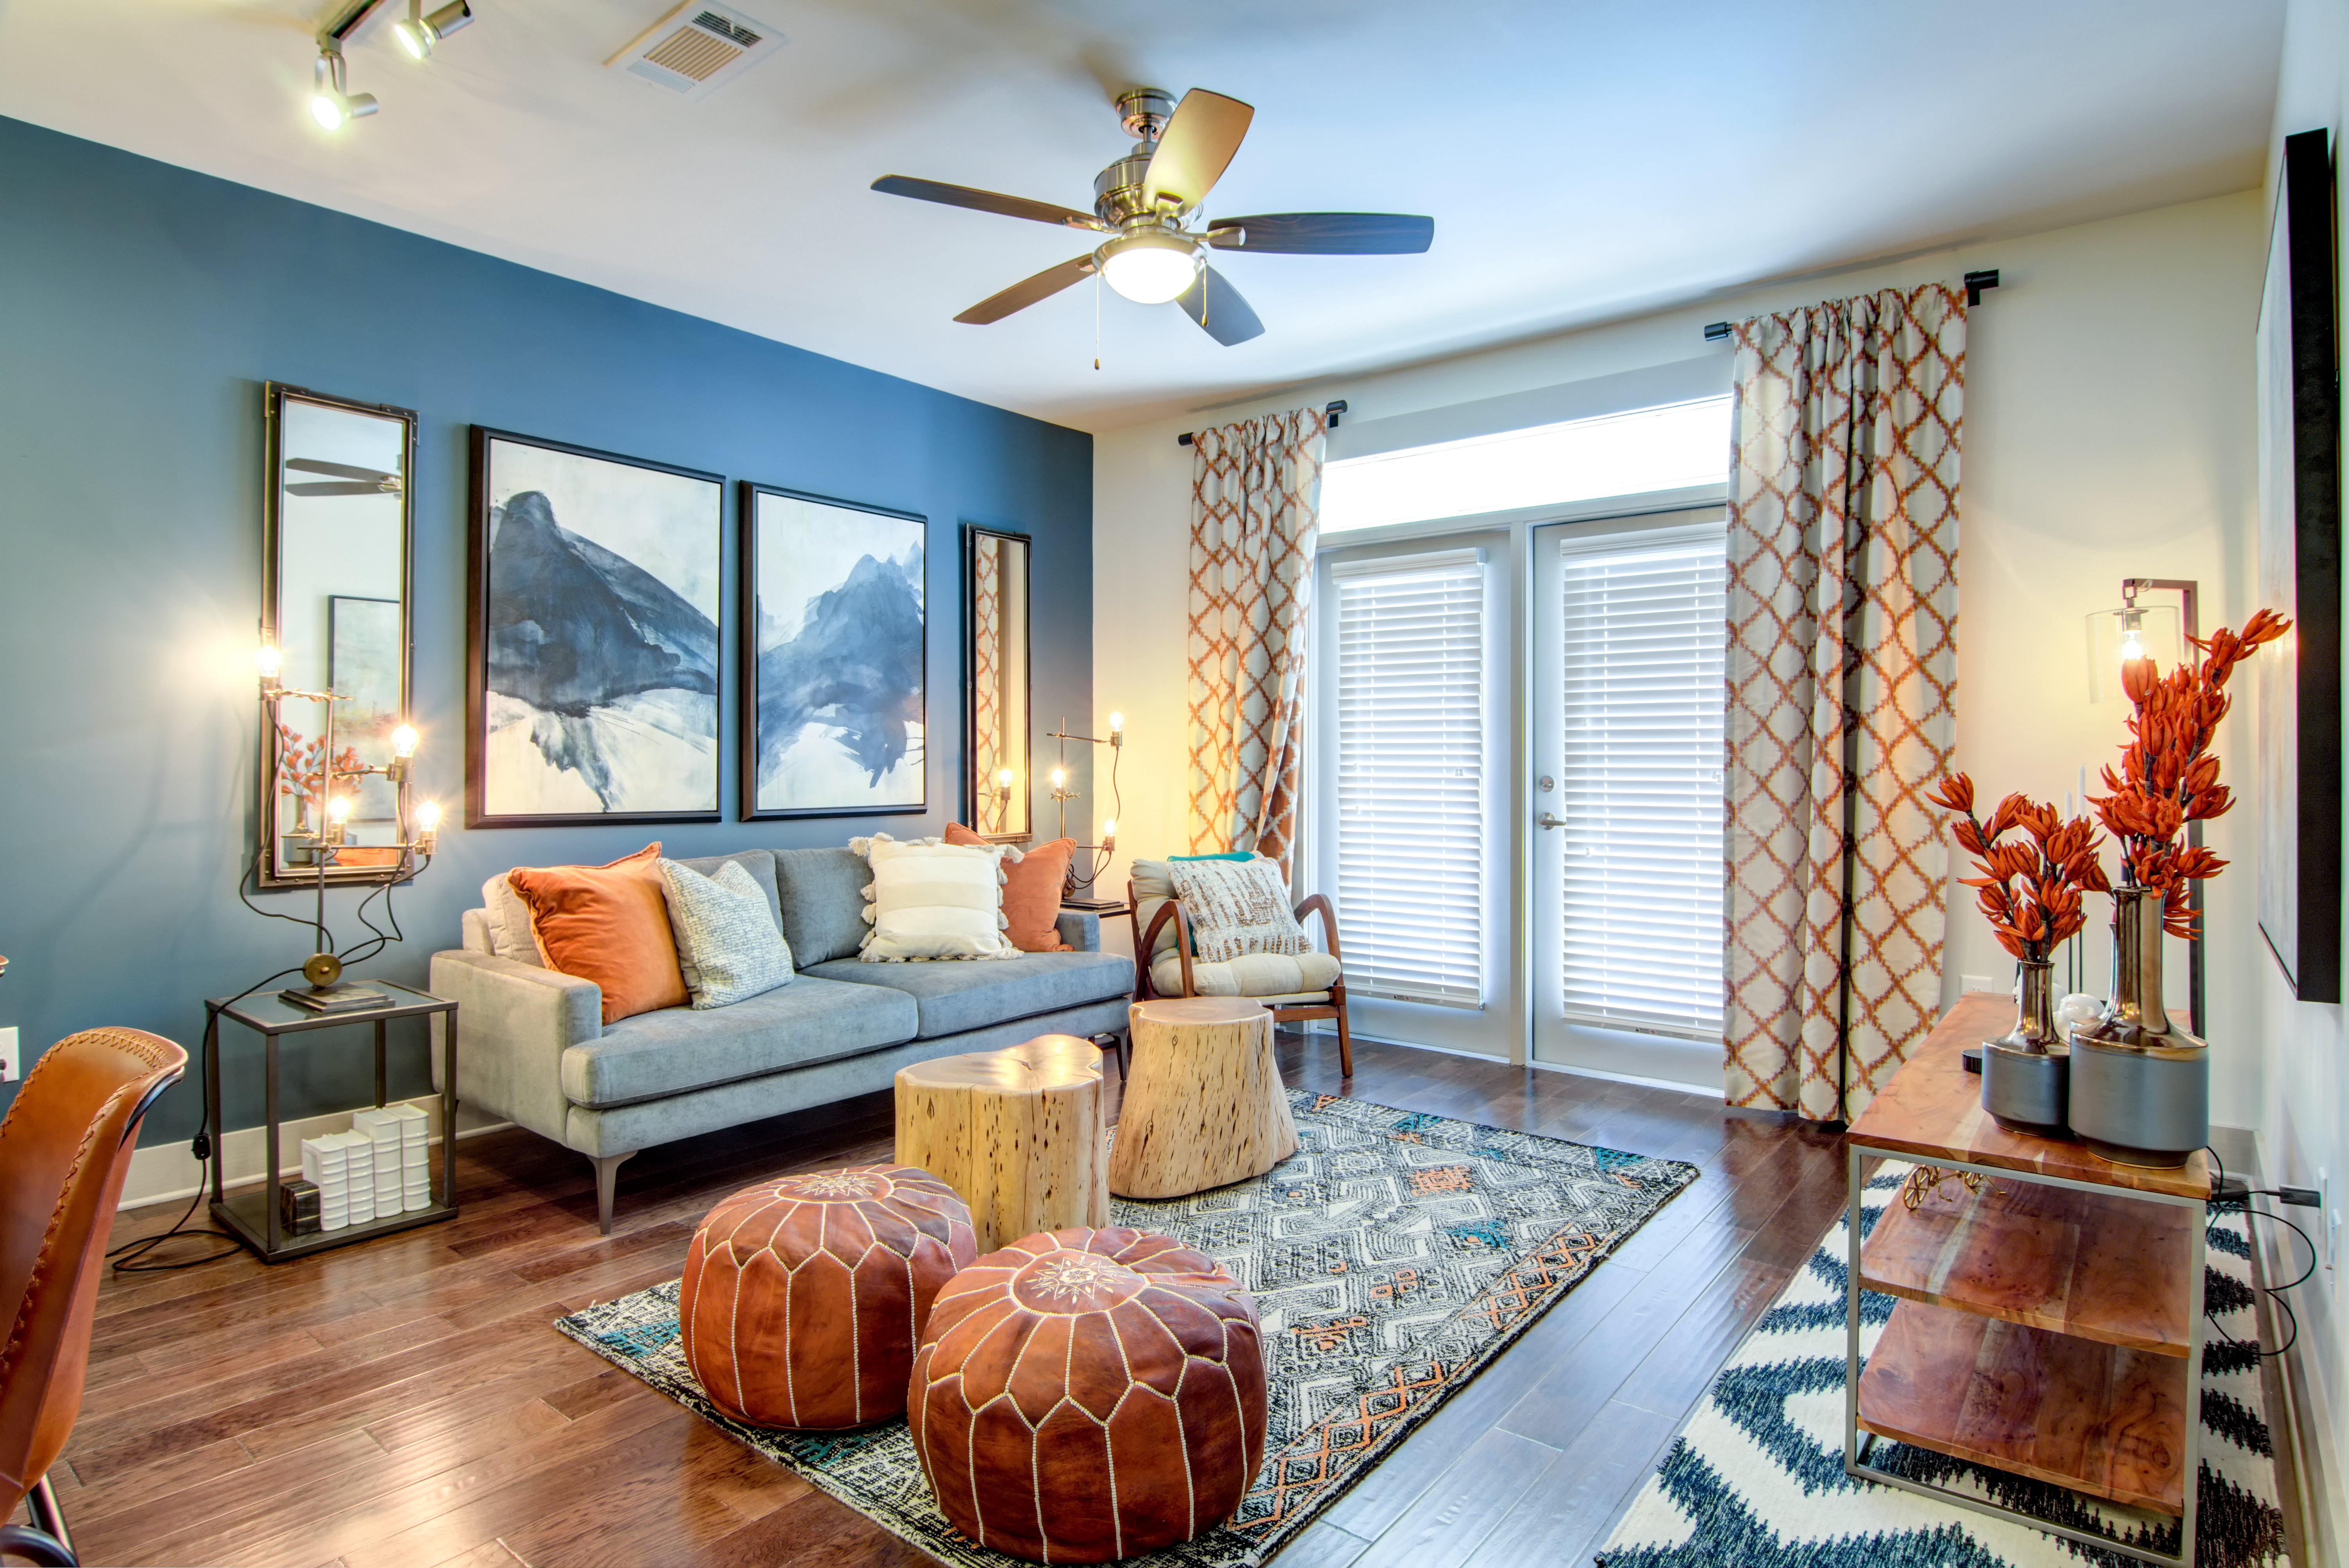
By opening blinds and drapes to compliment a space (but not too much that the light drowns out the interior), rooms will look more alive and can provide more detail than just using artificial lighting.
If the property you’re shooting is on a busy street or surrounded by a parking lot, try your best not to get any vehicles - especially branded ones - in any shots.
This can not only distract from the actual image you’re trying to capture, but it also results in more work on your end when you blur logos and license plates.
So, if possible, try checking a few times a day during a shoot to ensure there aren’t any obstructions, or start a shoot early to try and avoid this from happening.
This also goes for any construction or unfinished areas—do not get any of this in your photos. It can be distracting and can date images.
Cleaning up a property is not a photographer's job.
It’s fine to make recommendations or adjust things here and there, but for a successful and seamless real estate photo shoot, sending clients a cleanup checklist before the scheduled date would bode in your favor.
Additionally, it will help them if they are new to using a professional photographer and don’t yet know how to prep effectively.
Download our free photoshoot prep checklist to send to clients before a shoot.
The best way to understand a property is to conduct a walkthrough beforehand to get a better feel for the space.
Looking at what you’re working with before a real estate photo shoot can help ensure the cleanup is complete, staging and props are set, and lighting is set, and it can help identify which rooms to shoot first based on the time of day.
In addition, if there’s an onsite team, have them conduct a walkthrough with you so you can ask any questions or clarify anything before the shoot starts.
Try to plan around bad weather—but if you can’t, be sure you can improvise.
Bringing the right equipment to every real estate photoshoot will be essential to a seamless outcome. We recommend bringing one or two backup flashes in the event that the lighting isn't giving you the results you’d like due to gloomy or bad weather.
Also, don’t try to shoot the exterior just to do it—if the weather is bad, clients probably won’t want photos that show it, so consider coming back out another day or waiting until it shapes up a bit.
It may not seem like much, but ensuring blinds and drapes are consistently organized for any windows visible will make a difference.
For interior and exterior shots, arrange window decor in the same manner - or similar manner - which should be slightly open and folded nicely to not distract from the full picture.
Just be sure that no reflections or harsh shadows can be seen in or around any windows.
No matter how much light you have in a room, sometimes it just doesn’t give you the picture you want.
A good real estate photography trick to try out is leveraging your flash - either from your camera or other sources - to bounce it off a wall or flat surface so that it highlights the room better.
This works because you’re not focusing on one element of a space but instead using empty space to light up the important parts of a room.
| Related: 10 Apartment Photography Techniques You May Be Forgetting
We are currently in an era of renting where amenities and “extras” are essential selling points.
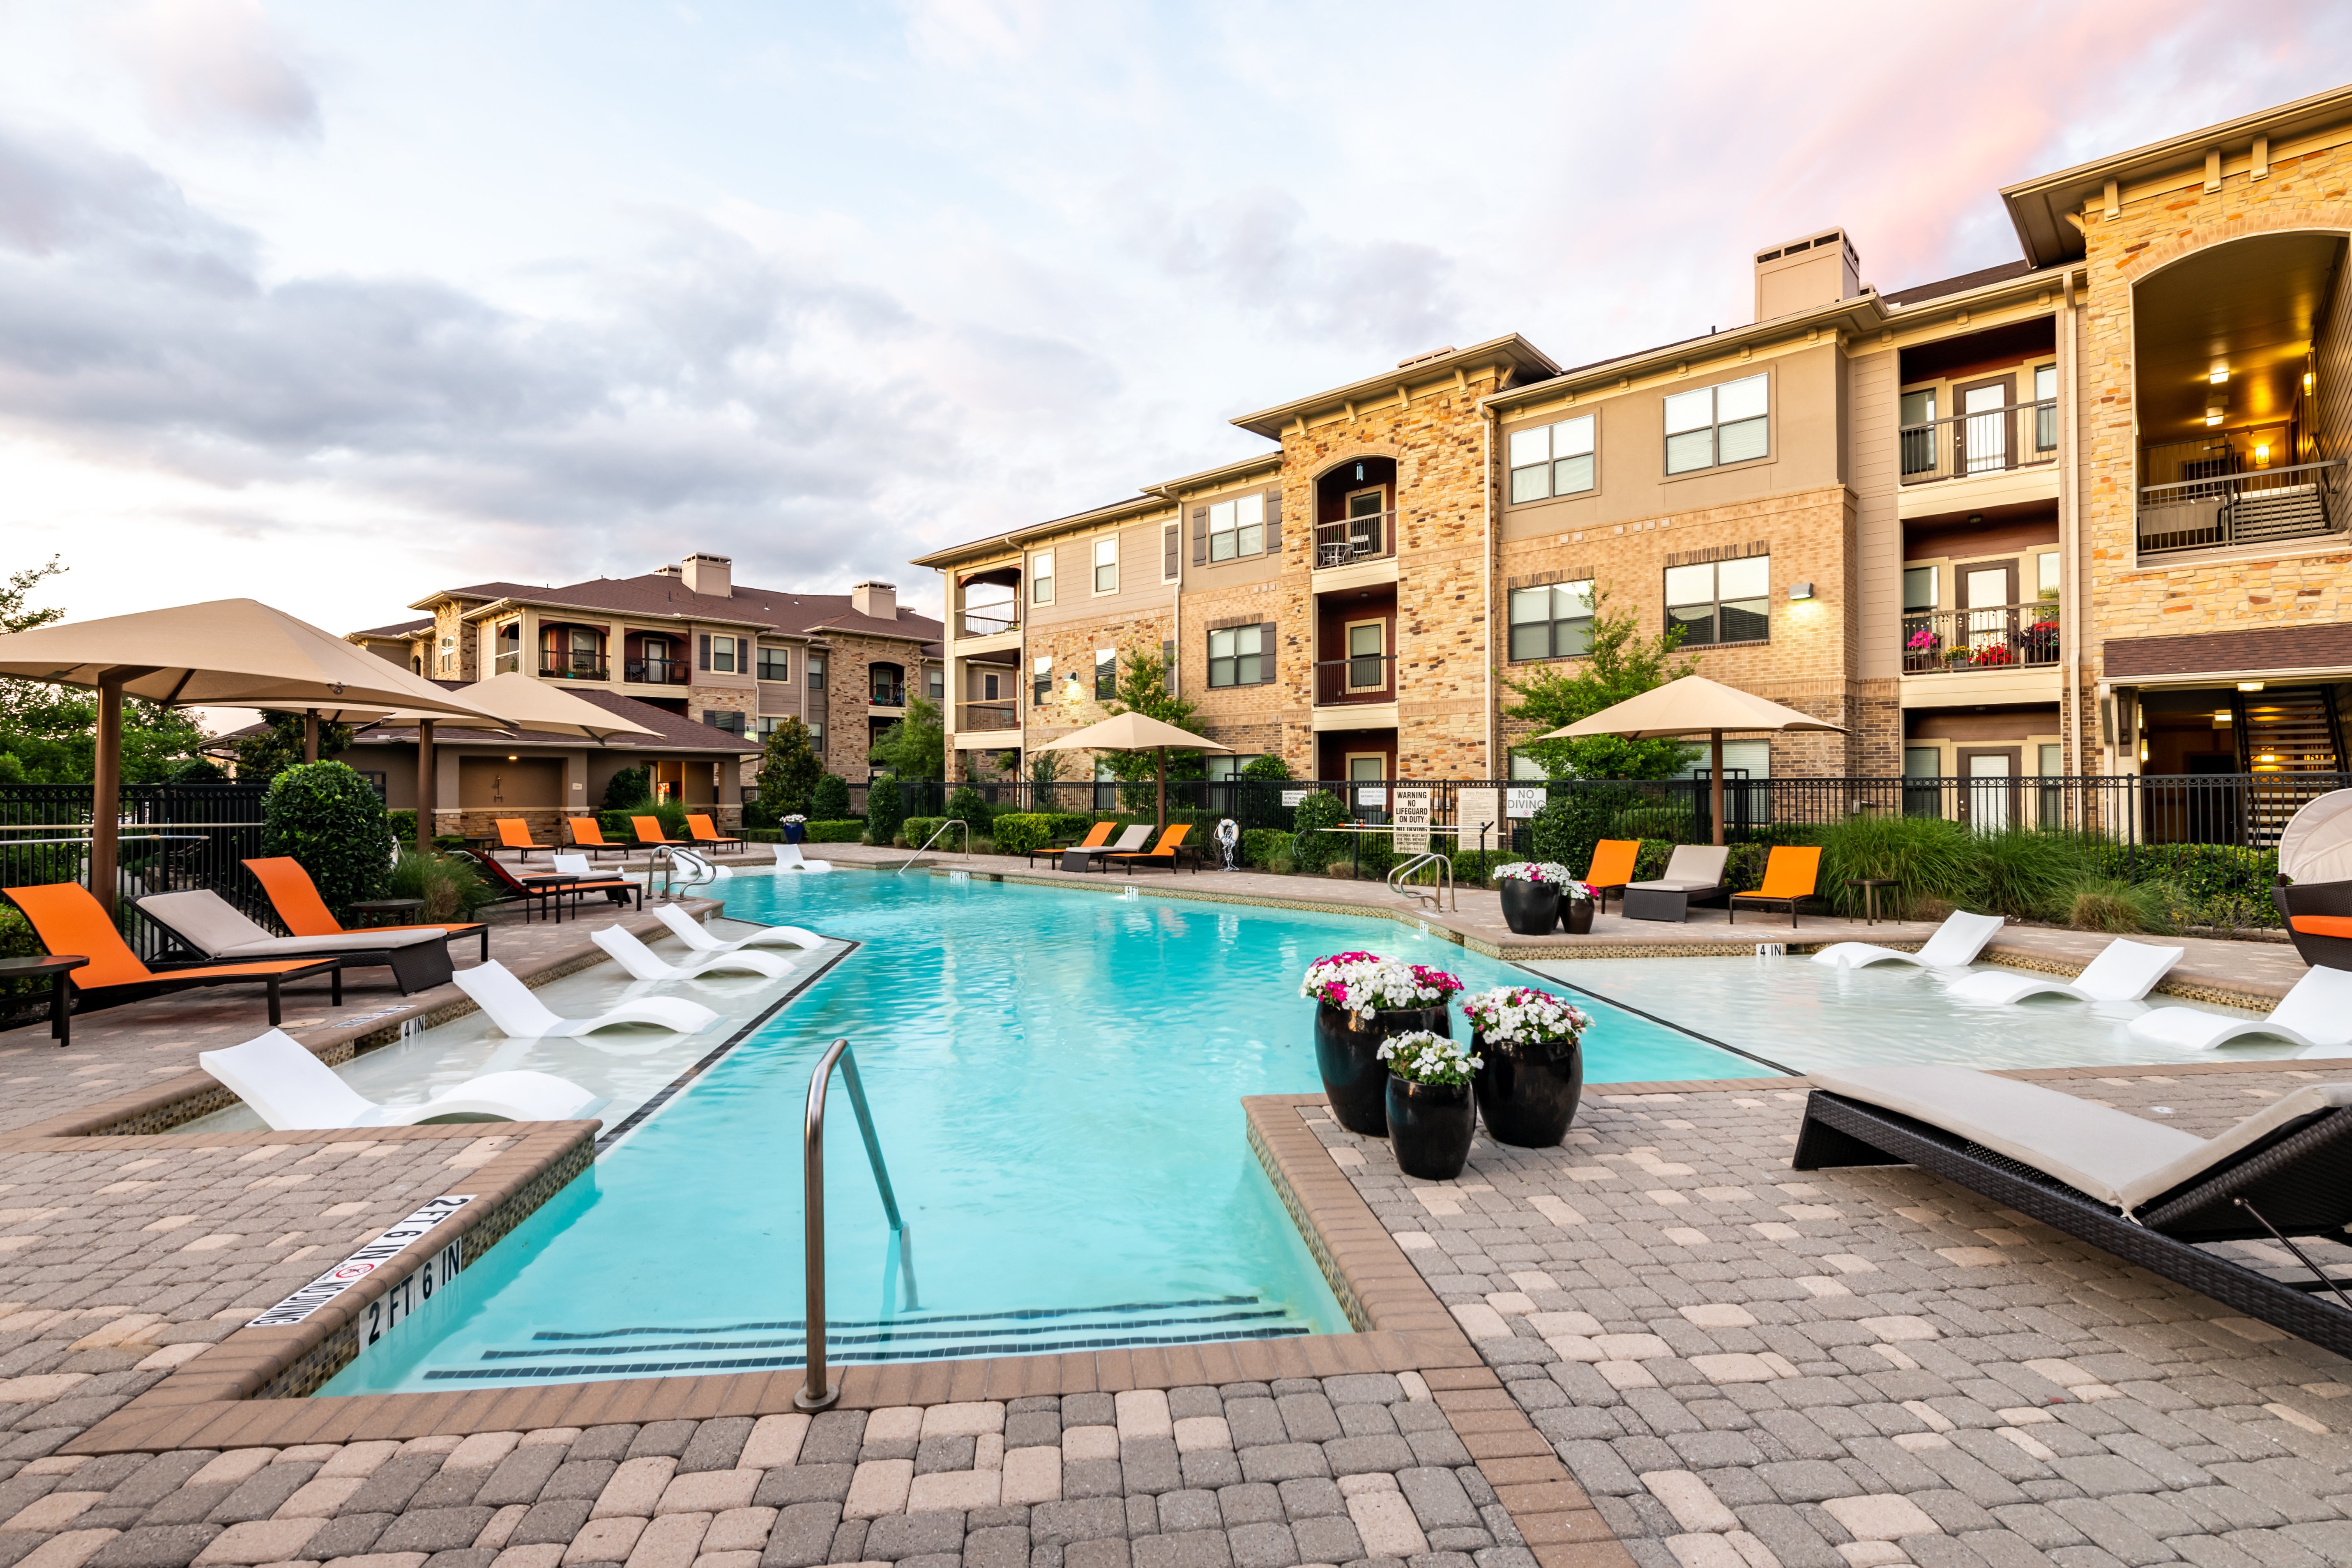
Because of this, any real estate photographer should try to highlight these areas and ensure the right angles/lighting is used, considering they will probably be the most viewed.
However, this doesn’t mean all your energy should be spent here. The entire property should have valuable time spent being photographed; just make sure the amenities are high-quality, too.
High-quality real estate photography will catch prospects' eyes, but switching up the height or angles for different shots can make photos more appealing.
You don’t want clients to have a portfolio filled with similarly angled shots—show off your skills by adding a few unique angles that will make a space pop.
Just be sure not to shoot too high or too low so that the picture's focus is off or incomplete.
Although you sent clients a photoshoot prep checklist, there might be some things you notice are out of place or need some arranging while shooting.
It’s good to keep an eye out for this - especially if you can improve the outcome of a photo - and get approval from the onsite team to help adjust anything out of place.
This could be furniture, decor, or even a lack thereof. If you think a room needs more plants or staging, don’t hesitate to speak up—the property management team will probably appreciate it!
This one can help you save time—invest in a wireless remote trigger so no shadows or obstructions are seen within a shot.
Wireless remotes are excellent for rooms with mirrors, many windows, exterior shots, etc., that could show some sort of reflection or shadow in a photo.
And, depending on what kind of camera you have, wireless triggers can be pretty cheap, so it’s worth the investment.
For those who don’t know, aperture priority is a mode in which you select your aperture manually, and the camera automatically sets the shutter speed.
The reason this is suggested is because not only does it save time when adjusting camera settings, but it also gives the photographer control over the most important setting.
Overall, it just helps with efficiency and quality regarding real estate photography.
No one wants their real estate photography to come off too yellow or blue.
Avoid any weird hues or tones by setting the white balance on your camera to auto so that it can manually adjust to the room's temperature.
This automatically focuses on the lightest part of an image and uses it as the white point. Just be careful because this changes between shots and will need to be adjusted for each one.
Low ISO - for example, 100-200 - should be common practice for real estate photography.
You don’t want images to be overly sensitive to light, making them appear over-exposed. Low ISO and quality natural and artificial lighting will ensure photos are of the highest quality.
As stated before, real estate photos should be mostly consistent regarding the focus, temperature, exposure, format, etc., to not distract the viewer.
For marketing and sales purposes, ensure everything looks cohesive so that real estate portfolios and web content are branded and high-quality.
In real estate photography, you shouldn't focus on just one area in a room.
These images show the entire space, so selective focus should never be used unless requested by the client.
Not to mention, clients will most likely want the most space included in photos to capture the entire property, and focusing on just one area defeats the purpose.
The RAW file format is pretty standard for photographers, and for good reason.
Shooting in RAW ensures no quality is lost on any images because data is minimally processed, and the format is generally large.
This is best for real estate photography because you’ll want the highest quality photos, especially in post-production.
It goes without saying that your goal is to provide real estate photography that clients are happy with. A foolproof way to do this? After the shoot, send them their POIs or points of interest shots for their approval.
Photographers should be getting at least 2-3 shots of each area on the shot list to provide a variety of differently angled photographs—all of these POIs should be sent to the client before edits so they can choose which ones they like best.
There are so many photography editing tools out there; it’s important that if you are editing real estate photos yourself, you choose the best one for both your experience and your budget.
Need help deciding? Here are the 5 best photography editing tools ranked.
LCP360 is a National Digital Marketing company located in Chicago specializing in photography, virtual tours, 3D renderings, video animations, virtual staging and floor plans. LCP360 offers multifamily, senior living and many other real estate industries a creative and innovative way to showcase space. By combining the best technologies from web marketing and panoramic photography, LCP360 has developed a best-in-class virtual tour web application that lets renters virtually tour a property from any location.
Multifamily does it, hospitality does it, and now commercial real estate is doing it. Commercial real estate photography - like all development...
Apartment photography is not only necessary, but also highly regarded in the minds of renters.
It’s no secret that apartment photography has the ability to yield amazing results.